Tuesday, March 01, 2011

Faux Tile Card

Hi all,


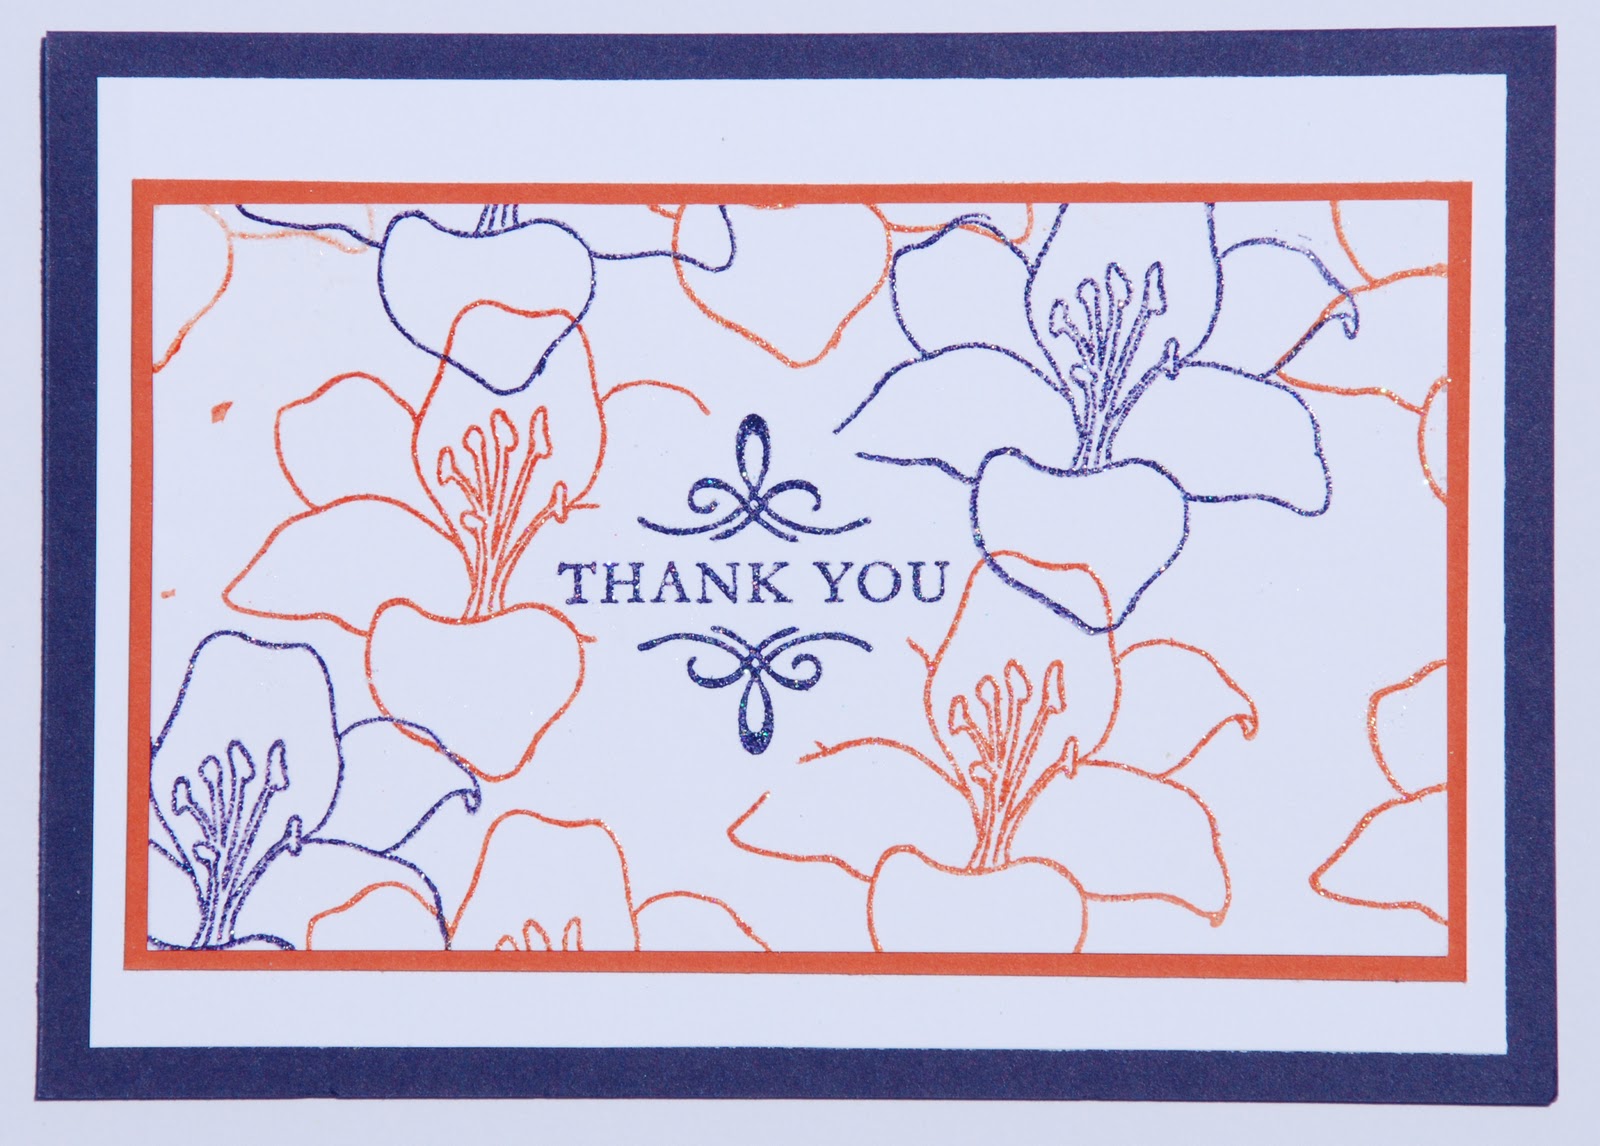
I saw this example of a faux tile card a while back and thought I'd give it a go on Sunday. I stamped the images on the cardstock then cut the paper into 1" x 1" squares (except for the top row - kind of misjudged the sizing a little oops). I used SU! choc chip ink around each square and then slathered them in SU! crystal effects. I let it dry then mounted on a card.


A couple of learning points I found - I should have let the ink dry a little longer as it smudged a bit and I need to practice getting the crystal effects a bit smoother (too many lumps and bumps for my liking). Pretty cool technique though. 


Lisa

Monday, February 28, 2011

Enough already with the heat!

Hi all,


Was not going to post again today but I had to comment on the weather:


39C here today ... 23 consecutive days over 30C (mostly 36's).


Seriously - enough. I am moving to Antarctica. I am just not a happy girl on hot days. Better go stand under an aircon vent.


OK, grumble over....


Lisa

Someone Something Sunday winner

Hi all,


As promised one person who commented on my blog during the last week has won one of the cartridges I used in my post for Scrappy-go-Lucky.


I had 29 comments over 8 posts and I used the random.org number generator and it came up with the number 20.


The 20th commenter on my blog last week was....

Country Bumpkins Scrapper said...

They look fanastic. So cute.

Sunday, February 27, 2011

Flower card

Hi all,

Here are two versions of a flower card. Flowers from my stash, stems are a few slices of green cardstock, wrap with ribbon, bit of bling for the flowers and pop on card base.

Simple but so effective.


Lisa

Friday, February 25, 2011

Love or hate? Changed again...

Hi,


I am trying out a new blog design/background. I kind of love it because it shows all the photographs in striking detail, but maybe it is too severe for a "ladies craft log".


Hmmm, what do you think? Love it or hate it?

Edited to add:

OK maybe black was quite a severe colour to use, so I have changed the background again to something more subtle.

Lisa

More Christmas cards


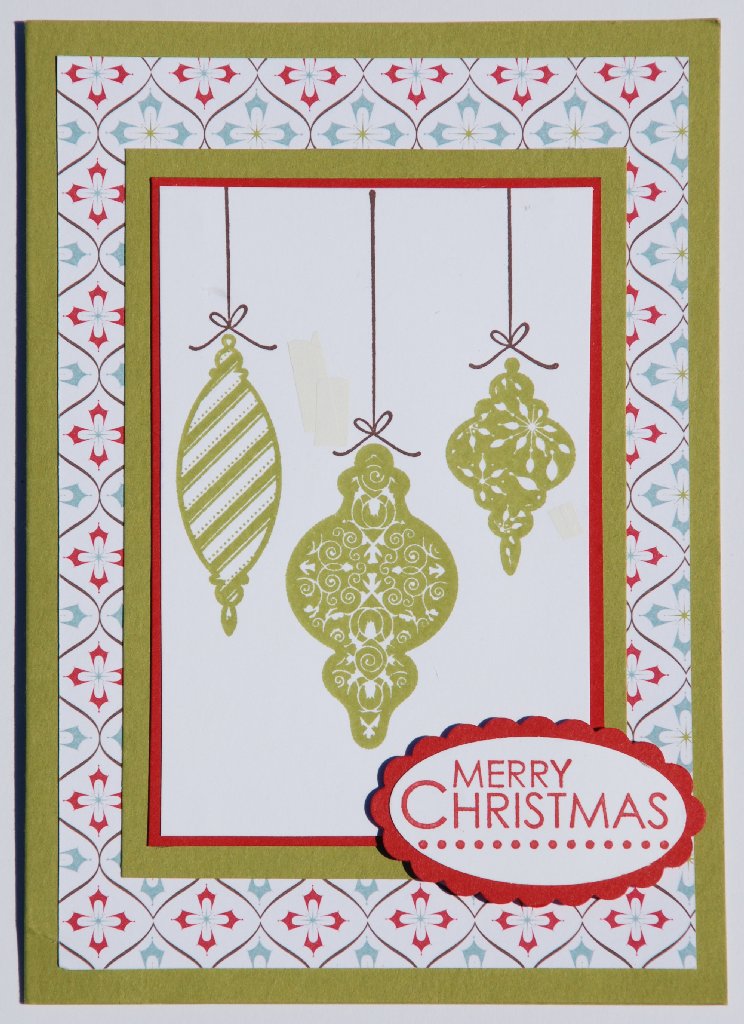
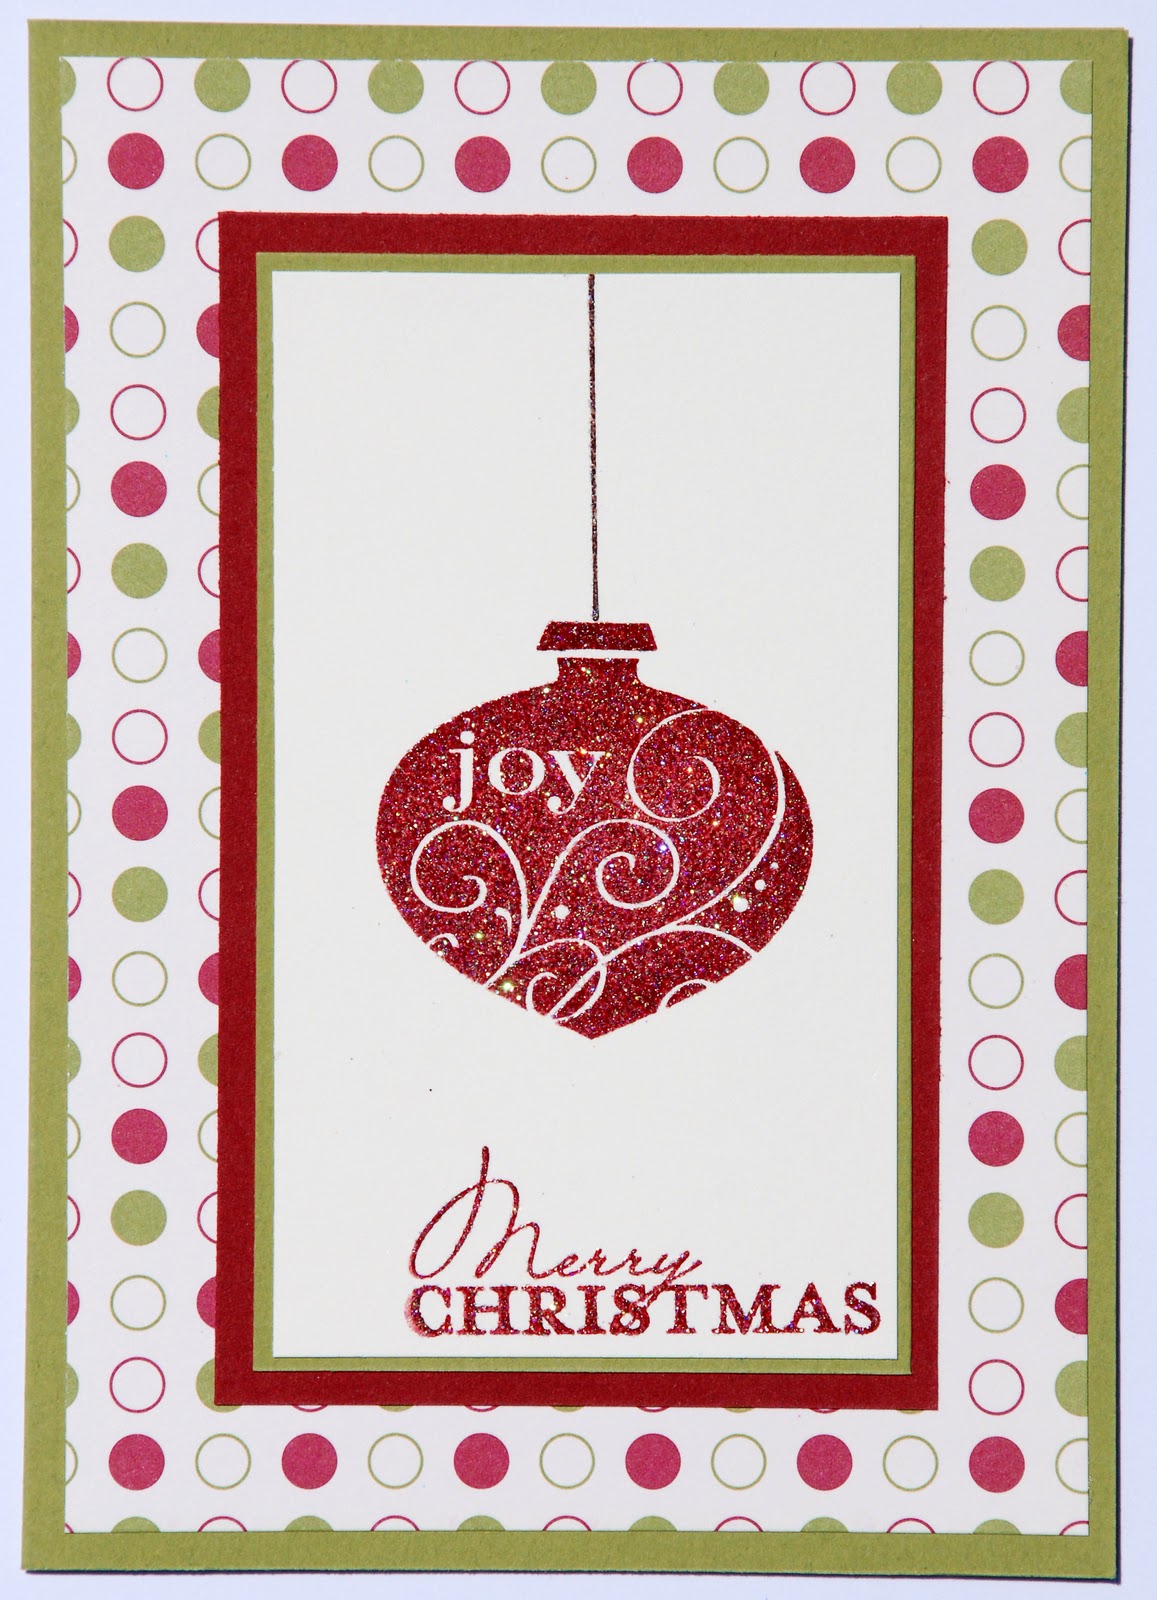
My 2009 Christmas card design - love the patterned paper and colour combo.

My version of a card done by tamfielder on Split Coast Stampers


My first tri-fold card. The stamp on the front has frustrated me as I have been unable to design a card I like to go with this stamp.


Have a good weekend,


Lisa

Wednesday, February 23, 2011

Santa Claus Girl

I really enjoyed doing this layout. I am very much into simple scrapbooking - I really want the photographs to be the focus.

The paper is bazzill, silver cardstock and Allison Ellis patterned paper. I used the Martha Stewart star edge punch along the bottom of the page and backed it with red bazzill.  The silver Christmas tree is from.. umm somewhere - found it in my stash.

The film strips are from the Mickey and Friends cartridge p60 icon border. I used Design Studio to size it correctly for the photos to fit in.

The fonts are from the following carts:
Santa Claus - Christmas seasonal
Girl - Graphically Speaking
Christmas - Christmas seasonal
2008 - Graphically Speaking


Lisa

Monday, February 21, 2011

Various Stampin' Up! Cards

Hi all,


Just thought I'd show you a few of my Stampin' Up! cards I've done. 


I really only got into cards this last year or so. I never understood the fun of making cards - for me scrapbooking and papercraft was all about showcasing my photography. BUT as I got more into the paper hobby I discovered the love of creating things not necessarily to showcase photos. I made a few cards for some reason I forget and suddenly I saw the light.


It was another way for me to express myself through paper. I have always been useless at the "wifely arts" of cleaning, cooking, sewing, knitting - really useless. So I finally found something else creative that I could do - and I've always LOVED stationery.


I originally got into Stampin' Up! because I am absolutely useless at choosing colours that go together - I like to call it "colour co-ordination challenged" - so I  love that everything matches and they have all the doo-dads in matching colours - ink, paper, brads, ribbon etc... Because I stress and angst about every choice this helps me no end.  I became a demonstrator after I left the Scrappy-go-Lucky business so that I could get my craft items at a discount price, but then I did a few workshops and really enjoyed the challenge of creating a new project for each occasion and teaching (although I still need some serious practice at the teaching part!)


I get lots of ideas from Split Coast Stampers. I do my very best not to copy ideas in full ... I usually like colours from one card, a stamp from another and a design from yet another, then I will rearrange it all and make my card.


If you're interested in Stampin' Up! products the latest Australian catalogue is hereOtherwise, I hope you enjoy a little look at cards I've made ....


This one is so simple. White inked flowers on a blue card then a
simple stamp and sentiment to finish off.


First attempt at a card with the Sweet Treat Cup. 
I need to get some more ideas for these.


I used part of a flower fantasy window sheet (acetate with a design on it) 
from a previous mini catalogue for the front design.


First attempt at scrapbooking with Stampin' Up! kits ... I normally do a double
page layout so I really must finish this off sometime... and journal
(oh how I hate to journal though I know I must) 


Hmmm ... I am seeing a blue and orange theme


Finally used the pretties kit I bought ages ago.

Although you cannot see it all that well I've used clear embossing powder and
dazzling diamonds on  all of the stamped images to give it that bit of extra pizzaz.


Lisa

Sunday, February 20, 2011

Someone Something Sunday over at Scrappy-Go-Lucky

Hi everyone,

My friend Mandy has asked me to do a post on her Scrappy-Go-Lucky blog  for her Someone Something Sunday... and I have reproduced it here.

Late last year I went to a scrap weekend and decided it was time to try something different. So I started off with door signs such as this simple one below for Mandy's Sophie. I used a piece of foam art board and I sized it about 12" x 24" give or take and inch or two as this seems to be a nice size to put on a door. 

The two butterflies are from Home Accents in various sizes and the font is from Winter Woodland at about 7". I have to say I love this font. I have used it over and over again on various door signs. I then trimmed it with a 1" Rose Red double-stitched grosgrain ribbon from Stampin' Up! (discontinued). This size of ribbon really gives the board nice coverage on the edge.

I use mainly Doodlebug Design Inc. glitter paper as I find it cuts really well on the cricut and also WorldWin Double Mates cardstock as it cuts like absolute butter on the cricut - love it, love it!


Once I got a little more experience with the door signs I began to cover the plain art foam with paper as a backdrop and then build my picture from there. I also started getting wildly out of control with the glitter paper ... but hey, what kid does not like bright shiny glittery things? My husband, child and some of my friends are all used to me turning up places with glitter all over my face (oops).

Sienna's door sign is made at with the Winter Woodland Cart (font again!) at 3". I then used the Disney - Pooh Font cartridge for the characters, cut at 3.5" each. The tree is from Disney - Pooh and Friends at about 10". Trimmed with 1" Stampin' Up! ribbon again. 


I am so pleased with how this next door sign turned out. It is so bright and cheery and the child I gave it to is obsessed with Elmo so he was really happy.

Everything on this door sign is from the Sesame Street Font cartridge. I used Elmo with the square on p.66 for the background for the S, the basic u and the Sunny Day font for the remaining letters. The blackboards are made at 2.5" and the reading Elmo at 4". I did not have a Stampin' ribbon this time, so I just used some black ribbon from my own stock. 


Lisa


Thursday, February 17, 2011

Children's door signs

I have really gotten into the off the page thing recently and I have done a few door signs.


Here are a few examples. I will be posting more on Sunday for Mandy's Someone Something Sunday.

Each and every door sign has turned out quite different, well, apart from the fact that I have OD'd on glitter paper on each one!

Various cricut cartridges, mainly doodlebug glitter paper, doublemates paper, and 24" cricut paper.

Cartridges: Everyday paper dolls for the space stuff, Celebrations for the stars and Mickey Mouse Font for the font.This one actually has white ribbon around it but the photo makes it hard to see.

Cartridges: Tinkerbell for the mushroom, flowers and character; Winter Woodland for the font; and Hannah Montana for the Frame

Cartridges: Paper Dolls for train and driver and Winter Woodland for the font

Cartridges: I used Dreams Come True for all the Ariel items and Winter Woodland for the font. Completely over the top with the glitter paper on this one!


Lisa

Wednesday, February 16, 2011

Farewell card


Friends of ours from down the road have just moved to Kalgoorlie - about 7 hours dive away (sob). Seriously going to miss them. They had a little boy Jessica's age and they had such a great time playing together. The parents were also the laid back kind of people we are and we loved to have BBQ's with them, and I loved to chat with the Mum. 

Anyway, here is the farewell card I made for them. I used a folded piece of Stampin' Up! A4 paper as I wanted it to be larger than normal.

The pot and roses are from Walk in my Garden. Both the pot and the border of roses were cut at 3.5". The font is from Alphalicious, cut at 1.25" and welded with design studio.

Car and house are from Beyond Birthdays, cut at 3". I started off trying to make this cut into a card on it's own with design studio by joining the houses together, but it turned out really ordinary, so I moved onto plan B.

Lisa

Tuesday, February 15, 2011

The Empire

Thought I'd take the time to show you the space from which my blog got it's name... During my previous life  in the Navy if someone was trying to take over lots of responsibilities or physical space for themselves the saying was that they were "building their empire" and basically on their way to taking over the world.

My empire grew by accident ... I used to be Mandy's partner in Scrappy-go-Lucky waaaay back when. I held all the stock at my house in the back spare room. As the business grew I convinced my hubby to let me get rid of the single bed in the room.

So then, when I left the business and all the stock left my house there was an empty room (what a shame). I successfully convinced my hubby to let me take over the room for my craft hobby ... I am very lucky as he has a hobby all his own - fishing, and he owns a small fishing boat and many, many rods, reels etc, etc... so I occasionally lay on the guilt and say "and how much did you spend on the boat and all I want to spend on craft is $xyz."

Scrapbooking and card making are such "accessory sports". You can never have enough tools, paper, bits and pieces etc. I have been collecting for a few years now and I am so lucky to have a place to play with all my stuff.

Well, actually the original plan was for it to be half Jessica's play room and half my craft room. We were going to bring most of her play room in here, but I sneakily whittled that down to her craft desk and a few baskets of puzzles and her craft 'stuff'.

I swear though, that I spend more time tidying up this place than I do actually crafting. I am going to have to learn the art of keeping it tidy.

Enjoy .....

You can never have enough storage!
The baskets and a couple of drawers hold Jessica's things, the rest is mine-all-mine... ha, ha, ha!

Hooray for IKEA ... the whole room is basically from IKEA.
Hubby and I put it all together - marriage tester that one! Bless my hubby's cotton socks.

VERY boring wall. One project for this year is to do a vinyl wall design.

The old chest of drawers came from my mother's parent's place.
My one antique.

More storage!

Lisa

Monday, February 14, 2011

Mini Martha?

My 4 year old daughter Jessica loves her craft, and always loves to help with the cooking.

On the craft side of things has her own desk in my craft room. She is always cutting something, or colouring something, or "making" something - MUCH cutting of paper into tiny pieces and MUCH glitter glue used. Usually making more mess than I do - hard to imagine. The other day I had been making cards and wedding invites and Jessica decided she wanted to make cards too... So, with almost no help from me (I pushed in the brads where she wanted them), and in no time at all Jessica had made 5 cards with my scraps ... and some items I obviously did not store high enough.


Being only four years old there are many, many, many things little Miss Jessica is still yet to learn or master, but I was pretty chuffed the other day when her first colouring-in attempt at school turned out like this, with zero help from adults ....


Lisa

Saturday, February 12, 2011

My first challenge


After finding the great website 365 Cards the other day I decided to do my first challenge. I have not submitted it as I decided to do the very first challenge back in March 2009 (yes, I'm a little behind the times)


I did a normal sized card, not a square one, but hey, you cannot always follow by the rules.

I used Stampin' Up products and the new Mother's day bouquet cricut cartridge for the flowers.

I have a bit of a resolution this year to make a whole bunch of cards to either have on hand for myself or to sell later on in the year and I think this is a good start for me.

Challenge attempt

Slightly different version


Lisa

Thursday, February 10, 2011

Wall Decor - a little out of control

I started off just wanting to put a few "Little Mermaid" characters on Miss J's walls. Oh dear I got a LITTLE out of hand!


I used my Design Studio and made all the items different sizes. Ariel and the castle are made as big as I could with 12 x 24 paper ... I mainly used the 12 x 24 cricut paper for all of this. 


All the different characters and pictures from the Little Mermaid - in the Dream Come True cartridge


Lisa

Wednesday, February 02, 2011

Jessica's first day at Kindy

Sob ... my little baby went to school for the first day today. She's looking all grown up in her uniform. Only two and half days a week this year, but she is certainly off on her new big adventure!


Lisa

Friday, January 28, 2011

Bloke's Card

I always find it very difficult to come up with ideas for cards for males. I saw a couple of cards similar to this on Split Coast Stampers and thought I'd try my own version. I was very happy with the result ... 


All products and stamps used were from Stampin' Up!


Lisa

Saturday, January 15, 2011

Christmas Cards

Sorry about not posting for a while, but I actually have been busy making 130 odd Christmas cards, 6 kids door signs and 50 wedding invitations. 

My original plan was to sell the Christmas cards, but it was too late for that by the time I had finished, so I used them to send out to my family and friends. 

I used only Stampin' Up! products... cardstock, patterned paper, stamps, ink, glitter, embossing power etc. I had a great time making them but was totally over it by the time I'd finished.

Here is a couple of pictures of just a small selection of the cards and my little helper's feet ...


Lisa

Monday, November 22, 2010

2010 Christmas Card Design


I try to make 60-odd Christmas cards a year and I made a resolution to make 10 per month this year .... ha, ha, ha, ha!! It is now October and I have made THREE total. Ah well, I live in hope that I will get my act together next year ... or the year after, or ....

I usually make most of the cards a similar design, but as I use up the patterned paper I change the colours about a bit. I also try to do a few Cricut design cards, but as I tend to stuff about with those until it is nearly too late to send I only get a few made. Last year I did some really cute pooh bear cards - I will have to find one and put a photo of it on the blog.

This one is just a variation of my favourite Chrissy card from last year - same design, but different papers and stamp. You just cannot beat a good idea. I have used a stamping technique they taught us at the Stampin' Up! regional I went to last month and boy am I lovin' this technique. You ink the stamp with versamark and then your chosen ink. Stamp then emboss with a mix of dazzling diamonds and clear embossing powder. It is very glittery and looks fab, but the photo does not do it justice.


Products used (all from Stampin' Up!): 

Papers - Cherry Cobbler, Old Olive, Whisper White and Jolly Holiday design paper
Stamp sets -  Delightful Decorations, Contempo Christmas and tree trimmings (the bauble string)
Inks - versamark, cherry cobbler, chocolate chip
Embossing powders - dazzling diamonds and clear embossing powder


Lisa


Thursday, October 28, 2010

No Dragons Please


Miss J has often talked about the dragons which come out of her wall at night so I decided to make sure those dragons knew they were not welcome. The sign had to go on one particular wall because that was the only one they come out of ...It has seemed to work so far -  but of course the sign was not quite correct - "but the dragons are PINK Mummy, not green". Good grief, her love of everything pink even extends to the monsters in her wall.

White cardstock
Red vellum
Black cardstock
Green glitter paper

Circle - Going Places
Cross hatch -Going Places
Dragon - Paper Doll Dress Up
Font - Don Juan

Lisa